
Your first steps
What the setup wizard walks you through, and what to do in the first week after it.
Start at your ClearTalk sign-in page and enter the details you were sent:
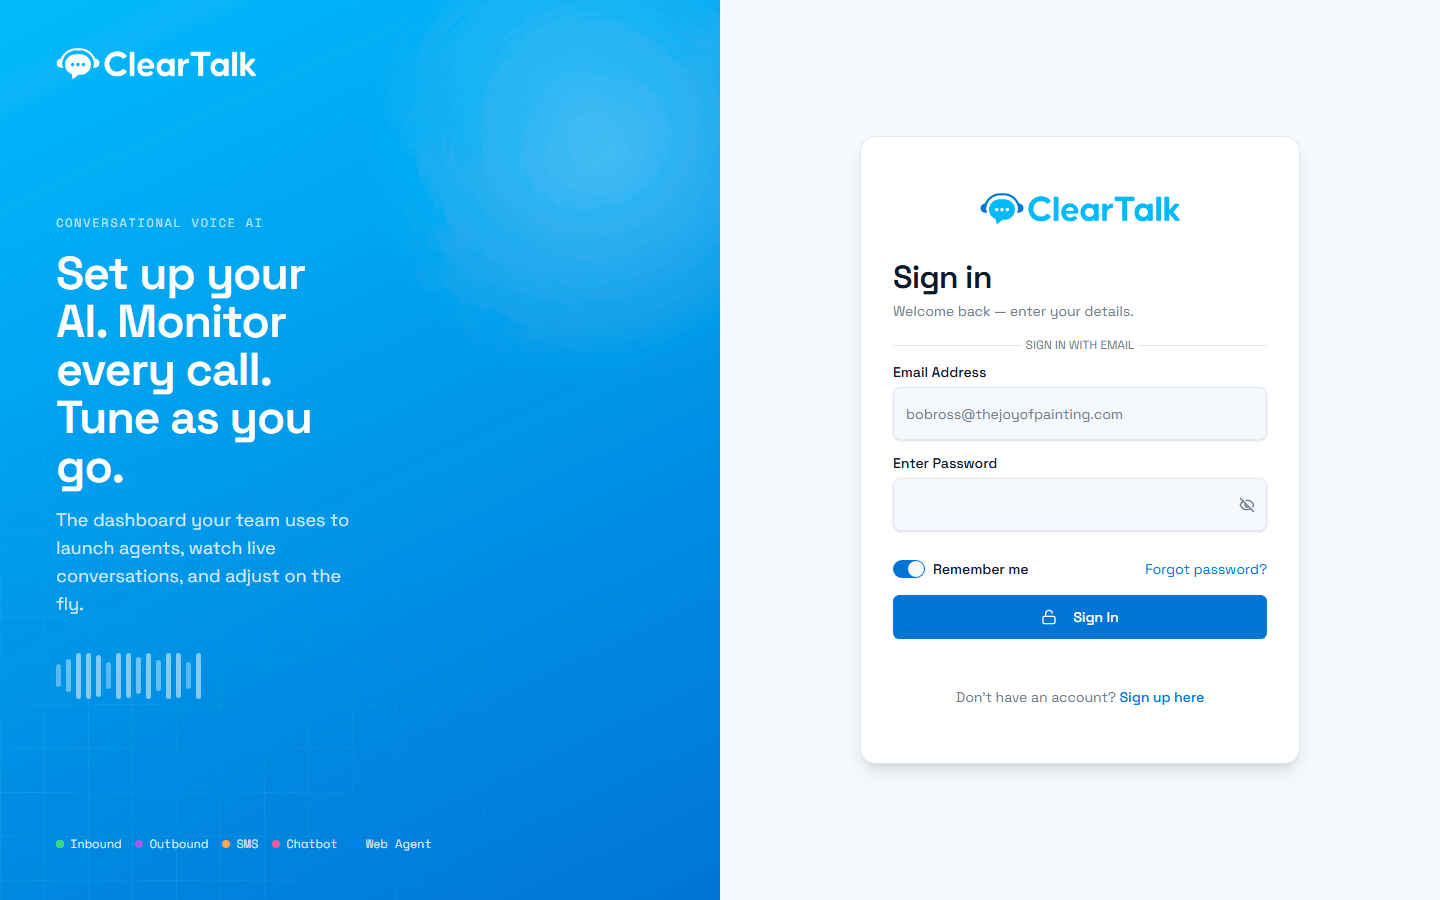
- 1Your email address — the one your invitation was sent to.
- 2Your password. Use “Forgot password?” below if you don't have one yet.
- 3Sign In takes you straight to your dashboard.
What you actually need
Before the wizard, it helps to know what the moving parts are. Most of it is handled for you; the ones that aren't are the ones people get stuck on.
Everyone needs three things:
- A plan. It decides which kinds of agent you can build, how many of each, whether you bring your own carrier account, and how many credits you get each month.
- Credits. Every call minute and every text draws them down. Your plan grants an amount that refreshes each billing period; you can buy more at any time. At zero, calls and texts stop — see understanding costs.
- A phone number. The wizard gets you one. Where it comes from depends on your plan, and that difference matters more than anything else on this page.
Then, depending on what you're doing:
| To do this | You also need |
|---|---|
| Answer incoming calls | An inbound agent, and a number pointed at it |
| Make outbound calls | An outbound agent |
| Run a call campaign | Contacts loaded, plus working hours set |
| Send texts | Your own carrier account, completed A2P registration, and a business name |
| Book appointments during calls | A calendar with your availability on it |
| Buy credits or use auto-recharge | A card on file |
Texting is the one with real lead time
You cannot text from a ClearTalk-managed number — carriers reject unregistered messaging, and registration only runs on your own carrier account. If texting is part of your plan you'll connect your own Twilio account, then register your business, which takes several business days and can be sent back for corrections.
Nothing else here has a waiting period. Start it on day one — see getting approved to text.
Which number path are you on?
Your plan decides this, and it's worth knowing which side you're on before you start:
- Managed numbers — ClearTalk holds the carrier account. Nothing to set up: search an area code, pick a number, done. Calls in and out both work. No texting, no forwarding, no SIP.
- Your own carrier account — you connect Twilio with an account SID and auth token, about two minutes. Everything unlocks, including texting.
The full comparison, and how to tell which numbers you have, is in managed numbers or your own carrier account.
If you only remember one thing: calling works out of the box, texting needs a carrier account and a registration that takes days. Almost every "why isn't this working yet" question is one of those two.
The first time you sign in, ClearTalk walks you through a setup wizard. It's short, most steps are optional, and it adapts to your plan and the kind of agent you're building — so your steps may differ slightly from the list below.
What the wizard covers
Welcome
A map of the steps you'll actually go through, based on your plan.
Choose your agent
What kind of agent you're building — one that makes calls, answers them, texts, or lives on your website. If your plan offers only one kind, this step is skipped.
Phone number
Search an area code and pick a number. Inbound agents always need one; outbound agents may not, depending on your plan.
Knowledge base (optional)
Point it at your website and it builds a knowledge base your agent can answer from. The fastest useful minute in the whole wizard — do it even if you plan to refine it later.
Connect your CRM (optional)
Link your CRM so contacts and bookings sync. See GoHighLevel if that's yours.
Calendar (optional)
Connect a calendar so the agent books against your real availability. If you don't have one set up, the wizard can create a sensible default — weekday business hours with a thirty-minute appointment — in one click.
Email notifications
Who gets a summary after each call. Add the people who'll actually act on them.
Transfer numbers (optional)
Where the agent can send callers who need a person. Setting these up now means they're built into the agent from the start — see Transferring to a human.
Build your agent
Describe what you want in plain English and pick a voice, and ClearTalk drafts the agent for you. It's a starting point, not a finished product — you'll refine it.
Go live
A recap of everything you've set up.
Then do these four things
The wizard gets you an agent. These get you a good one.
Call your own agent before anyone else does. Thirty seconds on the phone teaches you more than an hour of editing — you'll hear the greeting that's too long, the pause in the wrong place, the voice that doesn't suit your business.
1. Call it yourself. Before anyone else does. You'll hear things in thirty seconds that no amount of reading would have shown you.
2. Read the transcript. Open Conversations, find your call, and read it back alongside the recording. This is the loop you'll live in from now on.
3. Fix the single worst thing. Not everything — the worst thing. Then call again. Three rounds of this gets you a noticeably better agent than an afternoon of editing without listening.
4. Set your results. Rename the call results to match how your business talks about outcomes, and choose which one counts as a win. Do it before you connect anything to your CRM — see Define what counts as a win.
Where your agents live
Everything you build shows up under My Agents, whatever kind it is:
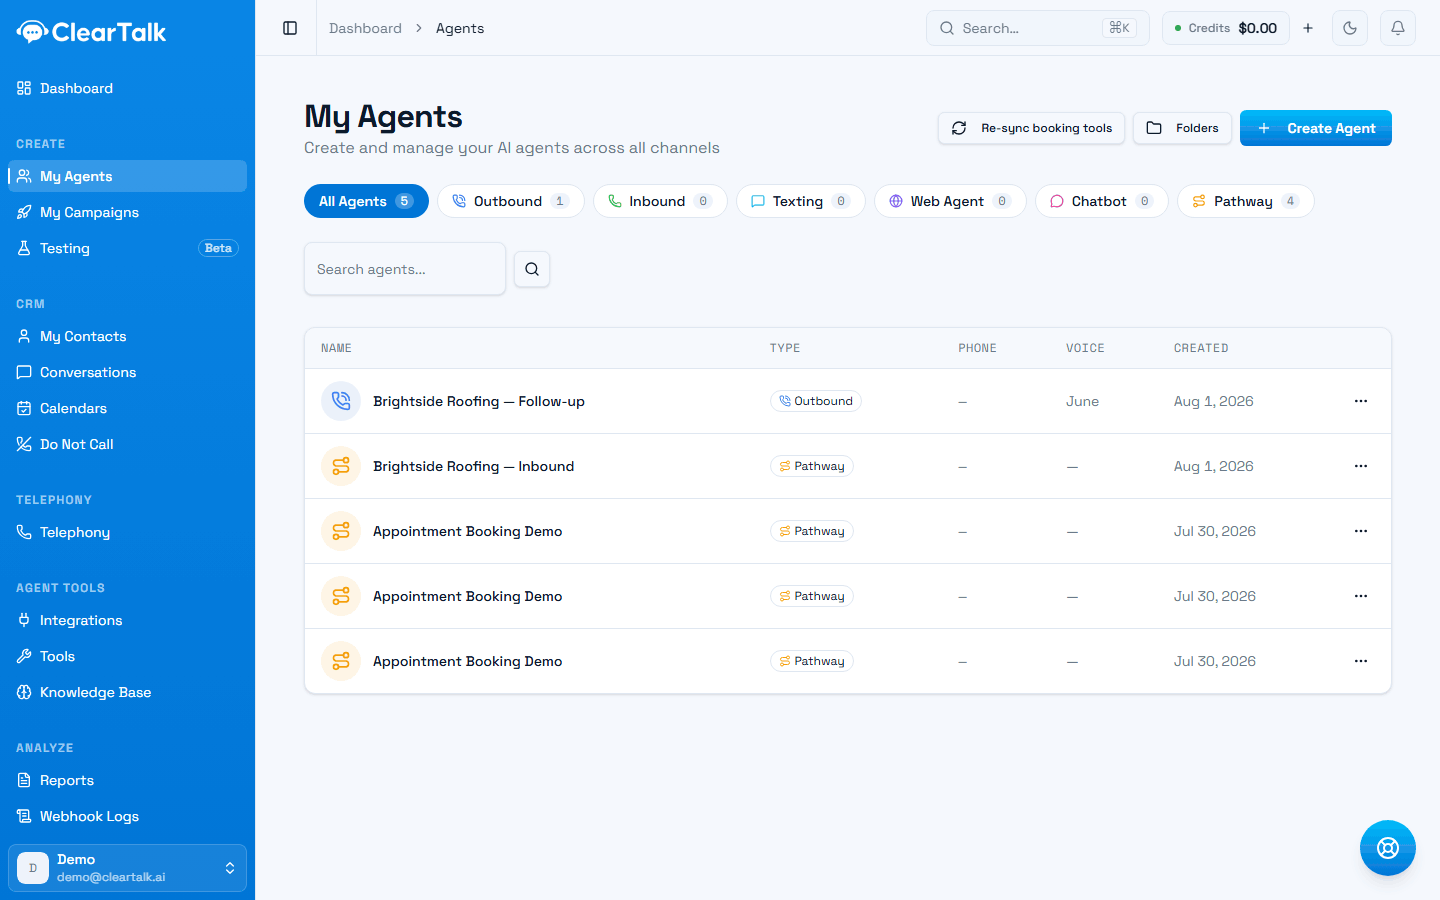
- 1Counts per channel. A zero here is usually the answer to “why is that picker empty?”
- 2Every kind of agent starts here.
- 3The type decides where the agent can be used — a campaign needs an outbound one.
The checklist in your dashboard
As you work, ClearTalk keeps a "Finish setting up" checklist alongside the agent screens: build your agent, connect a phone number, have your first conversation, import contacts, add knowledge, connect a calendar, send results to your systems, and get your first conversion. It's a reasonable order to work through in your first week or two.
Where to go from here
Watch the tutorials
Short videos covering the dashboard and each kind of agent.
Writing agent instructions
The single highest-leverage thing you'll write — and how to keep improving it.
Pathways
When your agent needs structure rather than free-form instructions.
Campaigns
How you actually reach a list of people — and why a campaign might look like it's doing nothing.
Conversations
Where every call, text, and chat lands. The screen you'll live in.
Before you dial at volume
How hard you can push a phone number before carriers start flagging it.